There are millions of questions about how to fix a flashlight button. But do you know why flashlight button needs to be fixed. There are a number of reasons why your Flashlight buttons are malfunctioning. Common causes include battery issues, contact problems, or damage to the button itself. Batteries that are dead or failing to make proper contact with the flashlight can prevent the button from powering on and off.
No products found.
If the button is damaged, it may need to be replaced. Corrosion or dirt on the contacts may also prevent proper connections and cause the button to malfunction. In some cases, adjusting the spring tension inside the flashlight can also help resolve button issues.

Before getting into the problems, let’s take a little basic idea about flashlights. This way, we can easily identify which parts of the light has a problem and take quick action.
The Flashlights basically consist of 3 parts and many make it in 4 parts as well. We can discuss these parts like…
1. Head Section:
The head section of a flashlight is made up of several components, including the bulb, reflector, lens, circuit, and a water-resistant plastic ring or O ring which helps to make the entire device waterproof.
2. Body or Battery Section:
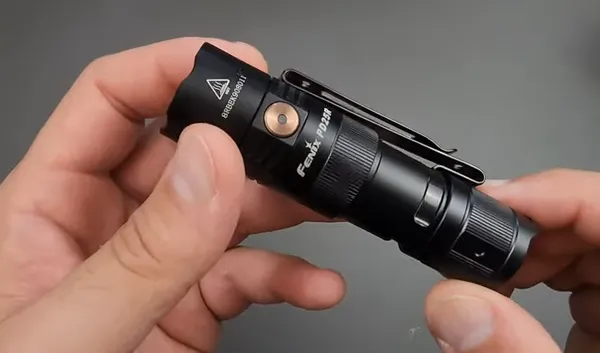
The body, or Battery Section, of most electronic devices, typically consists of a power switch, a designated battery compartment for easy access and replacement, and a durable carrying clip for convenient transport.
3. Tail Section:
A metal spring, switch, and rubber cap are all present on the tail section of many types of flashlights. These components are essential for ensuring proper operation and protection for the light’s internal parts as well as a comfortable grip for the user.
Now, we come to the crux of our discussion; Suppose the tail section switch of our flashlight is not functioning and we want to repair it by ourselves. Come, let’s do it together.
The following steps will show you how to fix a flashlight button in 8 easy ways
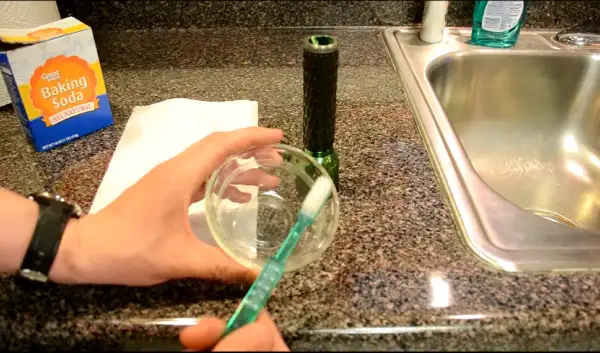
Before starting the practical, we will need a carbon steel flat file or sandpaper, steel tweezers, and a resistance meter.
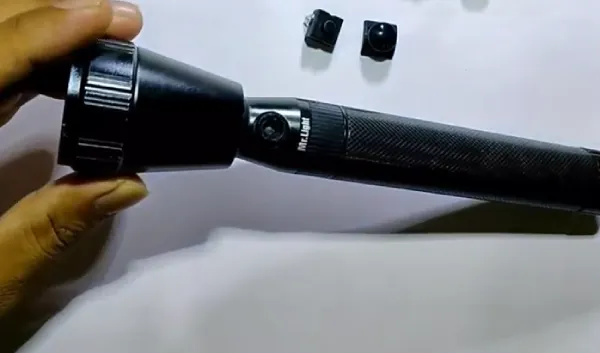
Step 1: Rubber Cap
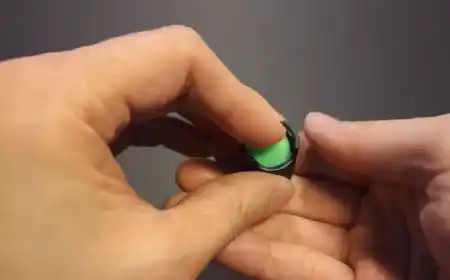
First, we will see a rubber cape. We need to take off this rubber cape. It can be opened with the help of your fingers.
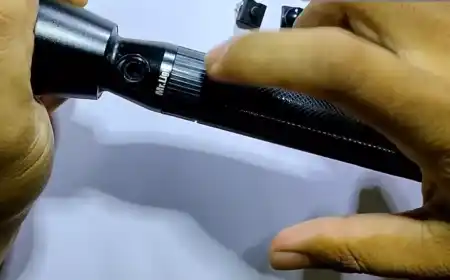
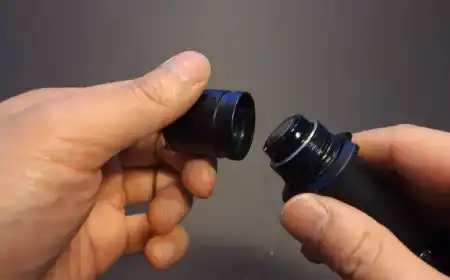
Step 2: Plastic Housing
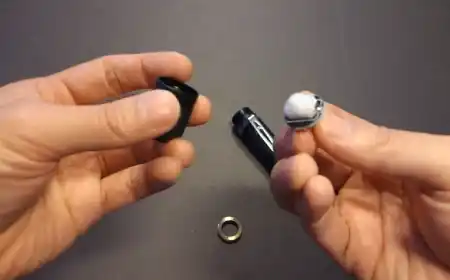
After unscrewing and removing the rubber cap, we will be able to see a plastic housing. Basically inside this housing is our flashlight switch.
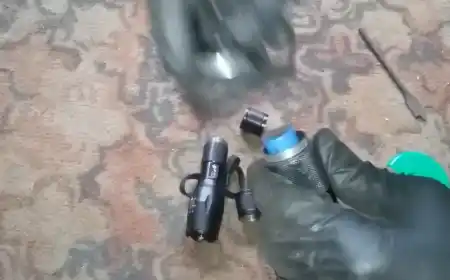
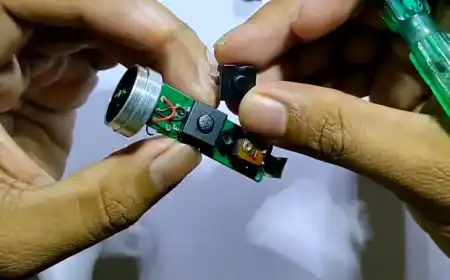
Step 3: Switch
Carefully, Use the steel tweezers to delicately separate the switch from its plastic housing. This process should be done with great care in order to not damage either component. Doing so will allow for proper maintenance and repair of the device.
We hope that, so far, we have been able to do it very well.
Step 4: Resistance Meter
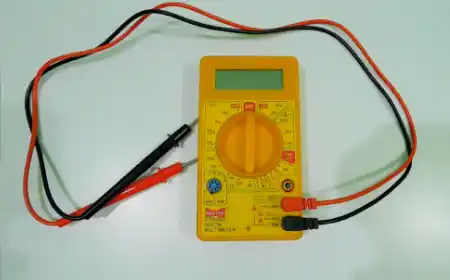
Now, we need to measure the resistance between each terminal of the copper bar inside the switch to make sure there is a problem. For a new switch, the resistance should read 0.01 ohms, while for a damaged one, it may read 10 ohms or above.
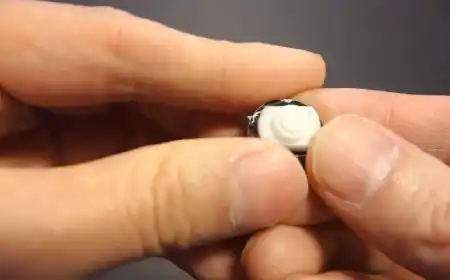
Step 5:
At this point, you will see a hole located on one side of the electrical switch. Using something thin, you should be able to open this switch with ease.
Step 6:
After pulling out the switch, we will get a 3-pin and clean it well with a carbon steel flat file or sandpaper to ensure that there is no corrosion or rust on it.
Hopefully, it won’t take us more than 5 minutes to accomplish the task at hand.
Step 7:
Now, we carefully reassemble the switch and check it again with the resistance meter, which is giving us a different result than the one we got before.
Step 8:
Now, put the repaired switch back inside the plastic housing securely. Fix the rubber cap on the switch tightly. Then, connect the tail cap firmly to the flashlight and test it to ensure its proper functioning.
Hopefully, it works.
From the above discussion we got an idea about how to fix a flashlight button, but sometimes if it doesn’t work like this replace components with new ones if necessary to make it work again.